Get Your Free Instant Online Quote Here
What Our Customers Are Saying

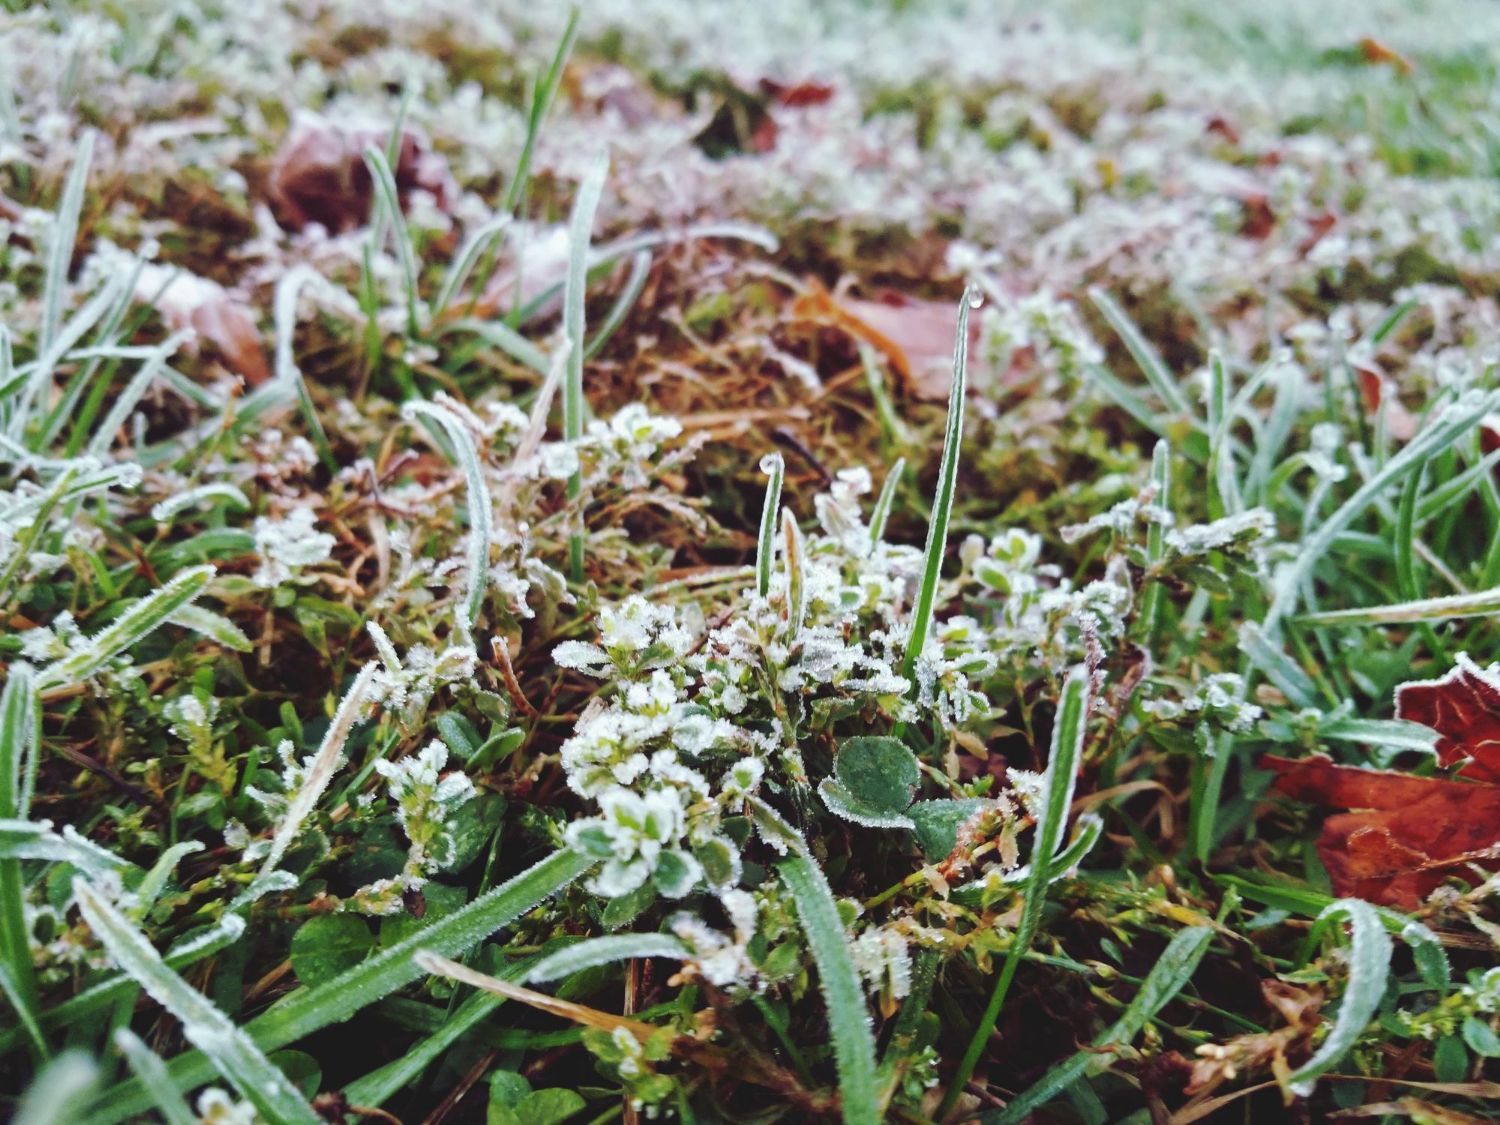
Winter Sod Installation: What You Need to Know

Thinking about sod installation in winter might sound odd, but it actually has several advantages. When temperatures drop and the landscape takes a break, your yard still has the potential to grow lush and vibrant. While spring is a common time for planting, laying sod in winter can set the foundation for a strong and healthy lawn ready to flourish when warmer weather arrives.
By understanding the right methods and steps for winter sod installation, you can transform your yard into a green haven. Your efforts in preparing and laying sod during the winter pay off, creating a lawn that thrives throughout the year and gives your outdoor space a fresh look.
Benefits of Winter Sod Installation
Installing sod in winter offers several advantages that benefit both your lawn and your efforts. One of the primary benefits is reduced competition from weeds. Since many weeds become dormant during colder months, your new sod has a better chance to take root and grow without the interference of weeds stealing nutrients.
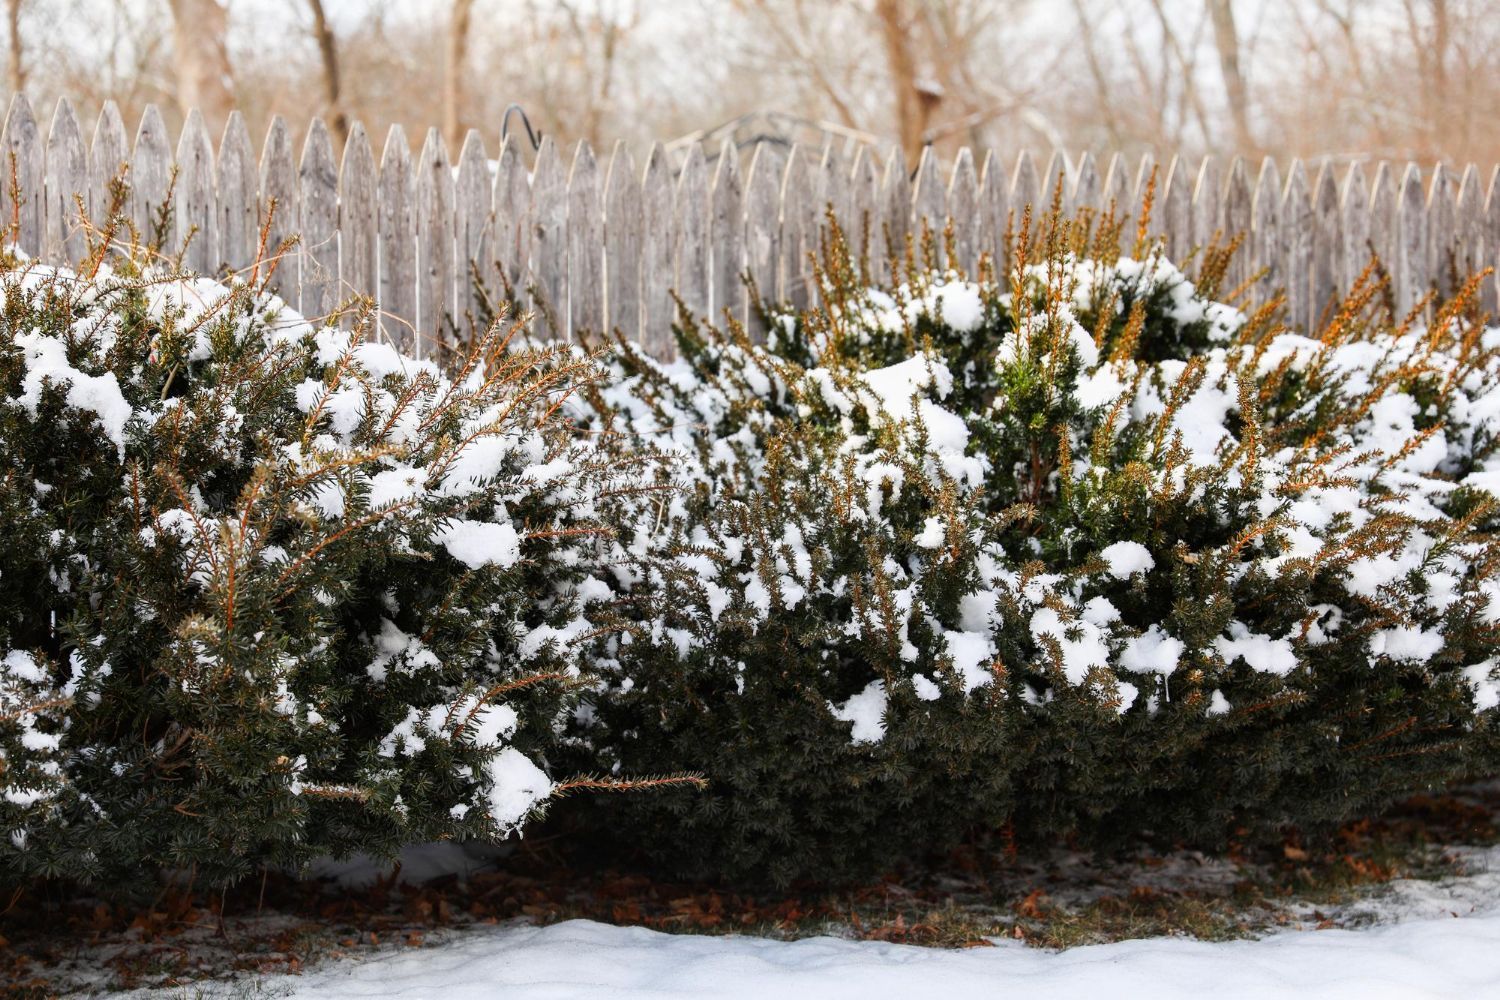
Winter sod is also less prone to suffering from heat stress, giving the roots ample time to establish themselves in cooler soil. This ensures that, come spring, your sod is ready to thrive without the immediate challenge of intense heat.
There can also be a cost advantage, as sod may be more affordable during the off-season when demand is lower. This means you can achieve a beautiful lawn without breaking the bank.
Comparing winter sod to spring planting, there's a strategic benefit to choosing the former. While spring is a typical planting season, many gardens face the overwhelming task of too much work at once. By installing sod in winter, you spread out your gardening tasks and give your new lawn a head start, potentially easing the burden when spring arrives.
Preparing Your Yard for Winter Sod
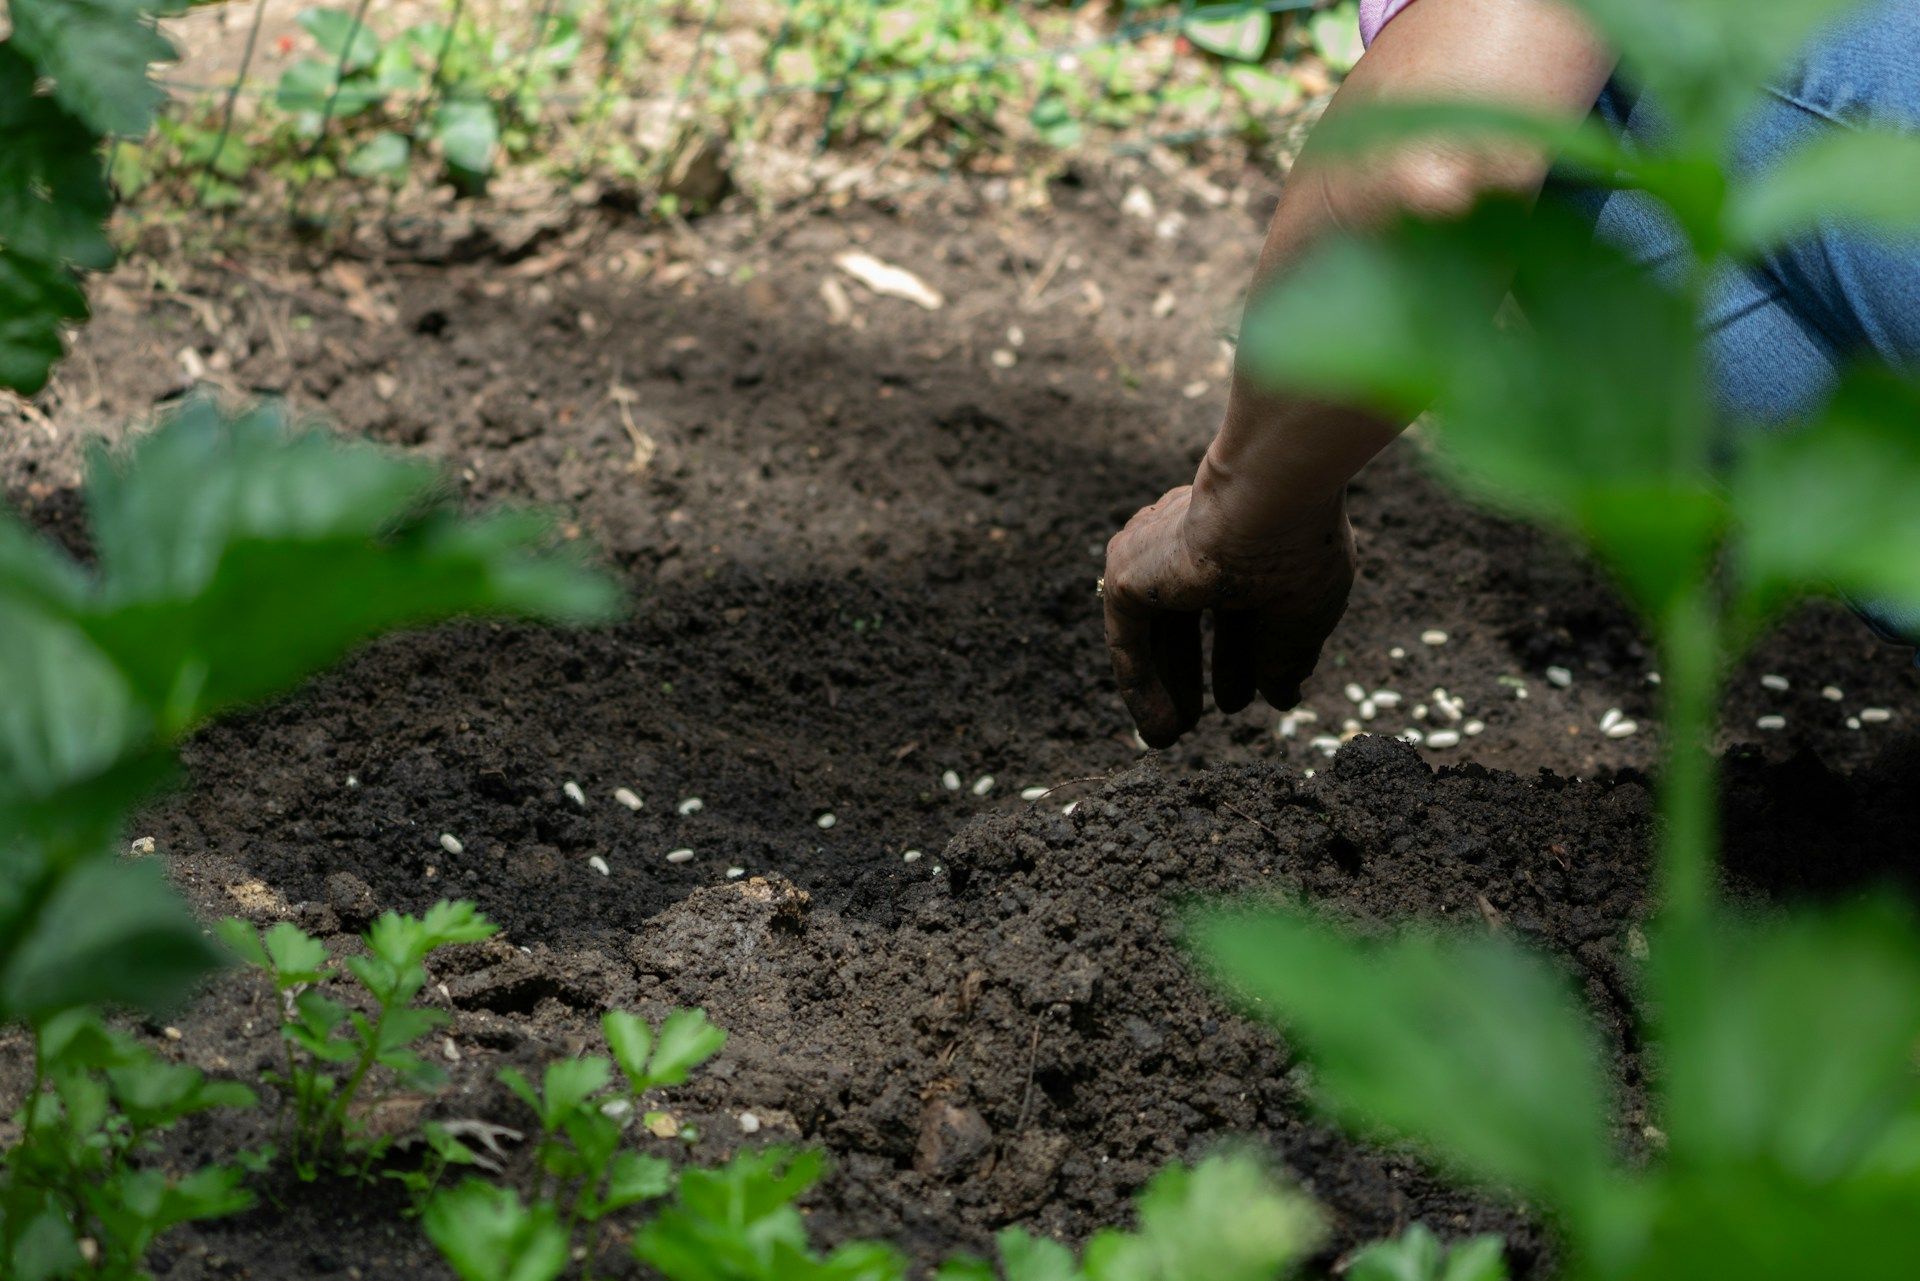
Getting your yard ready for winter sod requires proper preparation to ensure that it thrives. This starts with soil preparation. Good soil prep leads to better root growth, making it essential to start right.
First, test your soil to understand its pH levels and nutrient needs. This helps decide if and what type of fertilizers or adjustments are necessary. After testing, clear the area of debris, rocks, and old plant material to create a clean canvas for your sod.
Next, cultivate the soil to a depth of 4 to 6 inches. Remove any large clumps to ensure even settling. Once the soil is loosened, apply a layer of compost or soil conditioner to provide additional nutrients. This boosts the soil's fertility, helping your sod roots establish more quickly.
You'll need some tools and materials for efficient preparation:
- Lawn Roller: Useful for leveling the soil surface.
- Rake: Essential for clearing and smoothing the soil.
- Garden Tiller: Helps loosen and aerate the soil.
Proper preparation makes all the difference in supporting healthy sod growth, even in cold weather. With your yard prepped, your sod can establish strong roots, preparing it for a lush look throughout the growing season.
Winter Sod Installation Process
Laying sod in winter requires a few careful steps to ensure success. Begin by measuring the area you want to cover, which helps in ordering the right amount of sod. It’s crucial to install the sod promptly once it arrives to prevent it from drying out.
Follow these steps for a smooth installation:
1. Start on Straight Edges: Begin laying sod along a straight edge, like driveways or sidewalks, to keep the rows even.
2. Stagger the Seams: Lay strips in a brick-like pattern, staggering the seams to ensure stability and uniform growth.
3. Tightly Fit Pieces: Push the edges together tightly without overlapping to prevent spaces between patches.
4. Use a Lawn Roller: Roll over the sod with a lawn roller to ensure proper contact between soil and sod and to remove any air pockets.
Avoid common mistakes such as:
- Laying on Frozen Soil: The soil should be thawed, allowing roots to establish correctly.
- Ignoring Watering: Even in winter, sod needs adequate moisture to root effectively.
- Skipping Soil Prep: Poor soil preparation can hinder root establishment, affecting growth.
Careful attention during installation helps create a thriving lawn when everything blooms.
Post-Installation Care and Maintenance
After sod installation, proper care is crucial to ensure strong growth and a healthy appearance. Watering your new sod is essential, even during winter. This promotes root development and helps the sod settle into its new environment.
Follow these care tips:
- Consistent Watering: Water the sod immediately after installation and maintain moisture by adjusting watering frequency based on precipitation and temperature.
- Avoid Heavy Traffic: Limit foot traffic on new sod, as too much weight can dislodge newly forming roots.
For monitoring sod health and addressing any issues that arise:
- Inspect Regularly: Look for signs of uneven growth or discoloration. Address these symptoms promptly to prevent long-term damage.
- Address Pests: Keep an eye out for any pest activity and implement safe control measures to protect your new lawn.
Consistent care and maintenance ensure your winter sod establishes well and continues to thrive into spring.
Conclusion
With the right approach, winter sod installation can be a beneficial way to boost your lawn's health and beauty. Understanding the steps involved—from preparation and installation to care and maintenance—sets the stage for a lush and green space when the growing season kicks in. Ensuring proper installation and attentive care builds a strong foundation and enhances your yard's elegance and usability across all seasons.
Ready to transform your lawn with professional care? Healthy Lawn NJ can assist you in achieving a thriving and well-kept yard through expert sod installation and comprehensive lawn care services. Reach out and let us help bring your vision to life, ensuring every blade of grass is vibrant and healthy all year round.